MarkStein Publisher provides the means to place images and graphics created in other programs, edit them and export them in different formats.
Image formats
You can import and place the following image formats:
.bmp (Windows bitmap)
.eps (Encapsulated Postscript)
.gif (Graphics Interchange Format)
.jpg/.jpeg (Joint Photographic Experts Group)
.png (Portable Network Graphics)
.psd (Adobe Photoshop)
.tiff/.tif (Tagged Image File Format)
MarkStein Publisher Professional Edition and MarkStein Publisher Workgroup Edition support the following additional formats:
.ai (Adobe Illustrator)
.pdf (Portable Document Format)
You can export the following image formats:
.eps (Encapsulated Postscript)
.gif (Graphics Interchange Format)
.jpg/.jpeg (Joint Photographic Experts Group)
.png (Portable Network Graphics)
.svg (Scalable Vector Graphics)
.tiff/.tif (Tagged Image File Format)
Place/Assign
Placing without first creating an image frame
From the File menu, select Place... and choose the image file to be placed from your file system.
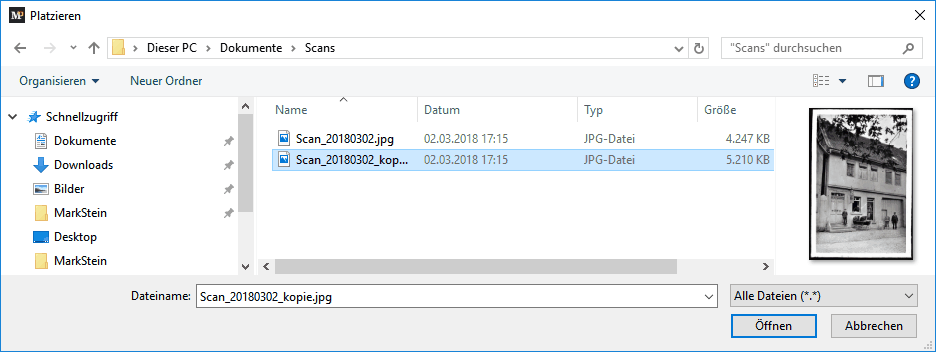
File system with selected image file
Click [Open].
The cursor now shows a small preview of the selected image. Click on the position in your document at which the left upper edge should be placed.
MarkStein Publisher automatically creates an image frame and positions the image with a resolution of 96 dpi, regardless of its actual resolution. You can achieve the same result by dragging and dropping the image from your file system to the document page.
Placing after creating an image frame
There are two possible ways to do this:
1.Follow the instructions above and click into the already created frame with the cursor displaying the image. The image is then placed in the selected image frame according to the settings defined in Preferences > Image Frame / Image.
2.Select the already created image frame using the selection tool and choose Content > Image > Assign...; alternatively, right-click on the image frame and select the command Image > Assign.
With both methods, the image is placed in the selected image frame according to the settings defined in Preferences > Image Frame / Image.
Adjust Size
The following commands are available to adjust the size of the image to a specific resolution from the Content > Image > Adjust Size menu or the Image > Adjust Size context menu:

Adjust Size menu
Default: The image size is scaled proportionally to the value selected in the Preferences > Image Frame / Image dialog.
300 dpi-72 dpi: The image size is proportionally scaled to the selected value.
Align
The following commands are available from the Content > Image > Align menu or the Image > Align context menu to align the image to the frame:
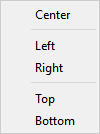
Align menu
Center: Positions the image content on the center of the image frame, both horizontally and vertically.
Left: Positions the left edge of the assigned image on the left edge of the image frame without changing the vertical alignment.
Right: Positions the right edge of the assigned image on the right edge of the image frame without changing the vertical alignment.
Top: Positions the top edge of the assigned image on the top edge of the image frame without changing the horizontal alignment of the image.
Bottom: Positions the bottom edge of the assigned image on the bottom edge of the image frame without changing the horizontal alignment of the image content.
Fit
The following commands are available from the Content > Image > Fit menu or the Image > Fit context menu to fit the image into the assigned frame:
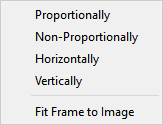
Fit menu
Proportionally: If the frame is larger or smaller than the assigned image, select the command Proportionally to proportionally fit the image into the frame. This fills the entire frame, parts of the image extending outside the frame are hidden.
Non-Proportionally: If the frame is larger or smaller than the assigned image, select the command Non-Proportionally to fit the image into the frame without preserving proportions. This fills the entire frame and the image is distorted.
Horizontally: Proportionally adjusts the image to the width of the image frame. The image height is adjusted by the same scaling ratio that was used to change the image width.
Vertically: Proportionally adjusts the image to the height of the image frame. The image width is adjusted by the same scaling ratio that was used to change the image height.
Fit Frame to Image: Adjusts the frame to the current size of the image.
Further information and editing options for positioned images are available in the Layout > Image inspector.
Working with the content tool
Use the Image content tool to move the image content inside the frame or adjust the size of the image.
Move
Click on the image with the tool. A frame showing the content size appears. Holding down the mouse button causes areas of the image outside the image frame to appear with a lower opacity so you can choose the image section by moving the image.
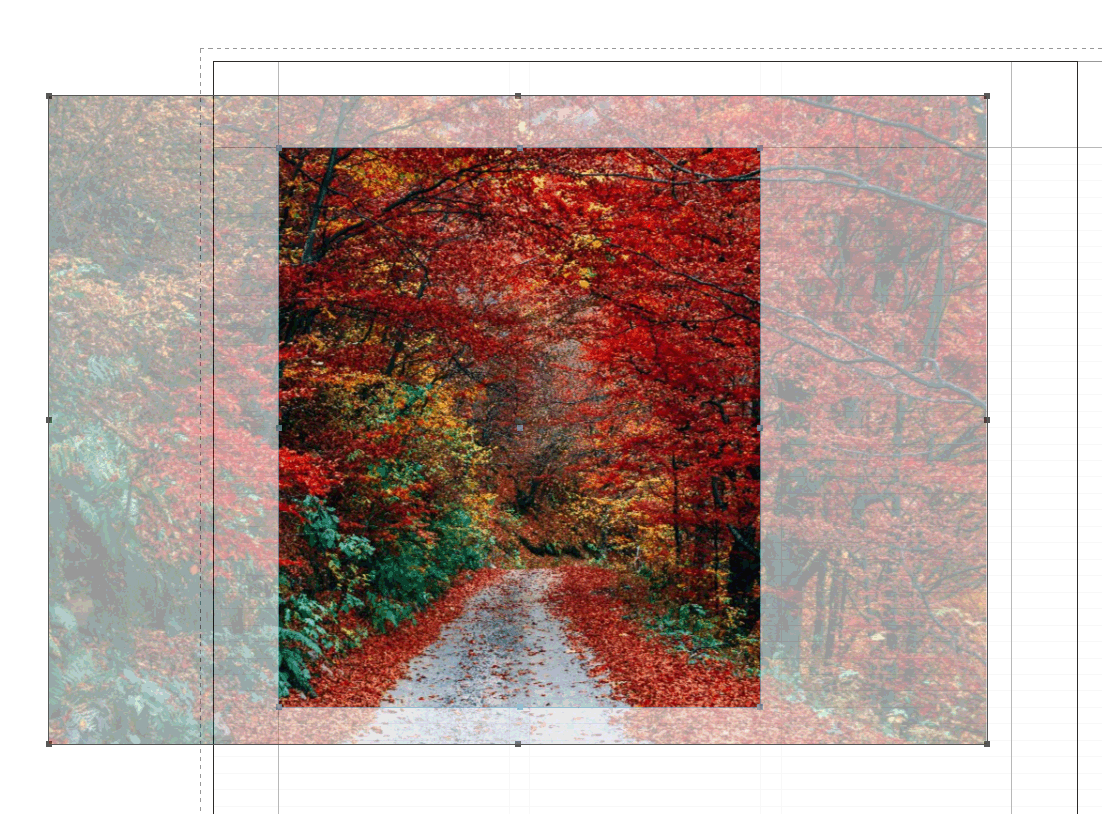
Image content activated with the image content tool while holding down the mouse button.
Change Size
Click on the image with the tool. A frame showing the content size appears. Click on the edges or corners of the displayed image content and enlarge or minimize the content by dragging while holding down the mouse button.
If you have activated Keep Aspect Ratio When Changing Size under Preferences > Image Frame / Image, the image size is always changed proportionally. If this option was not selected, press the <Shift> key while dragging to scale the image proportionately.
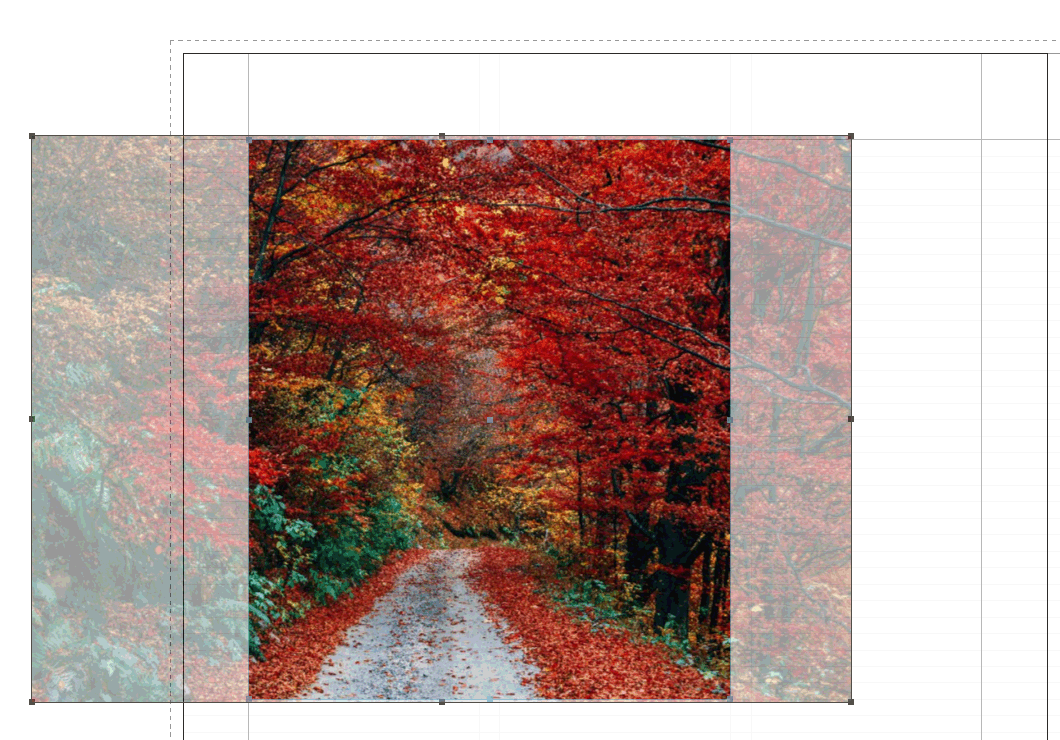
Vertically scaled image content.
Hint: To change the size of an image frame and its content, click on one of the edges or corners while pressing the <Ctrl> / <Cmd> key and drag the frame larger or smaller while holding down the mouse button. To scale the image proportionally, also press and hold the <Shift> key while dragging.
Insert IPTC data
Many images from image databases contain IPTC information such as title, key words and copyright information. MarkStein Publisher can read this information and insert it in your document.
To do this, place the cursor in the image caption linked to the image and select the command Insert > IPTC Information...
The available information and an image preview are displayed in the window that opens. If the chain contains multiple images, you can select the image for which you want to insert IPTC information via the drop-down menu above the image preview.
Double-click on the information you wish to copy in the desired order, this information is then transferred to the preview window and separated by commas. Clicking the [Apply] button inserts the displayed text in the document and closes the window.
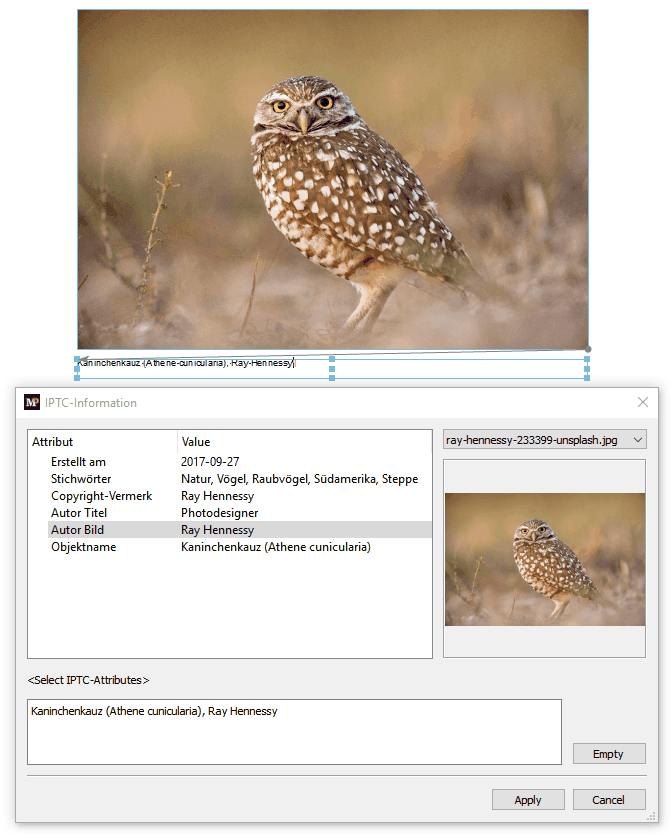
The IPTC Information window, the Object Name and Author Image attributes were double-clicked on and thus inserted into the preview window for the text.